Craft Guide

How a Hanko Is Made

A hanko is not made simply by carving a name and stopping there. The maker first decides what kind of seal it will be, chooses the material, considers what kind of lettering and atmosphere it should carry, arranges balance and blank space inside the small seal face, carves the design, and finally checks the stamped impression through test stamping and finishing. In that sense, hanko making is a small craft in which material, lettering, composition, and impression all meet.

hanko.co.jp Craft / Making Process Reading time 8–11 minutes

A finished hanko may look very small and quiet, but inside that small object there are many stages: material choice, lettering choice, seal-face arrangement, carving, finishing, and the confirmation of the final stamped impression.

A hanko is not truly complete when the carving is done. It becomes complete only when the stamped impression appears beautifully on paper. That is why making a hanko is not only the making of an object, but also the making of an impression.

Stage one: decide the purpose

Seal making begins by deciding what kind of seal the hanko is meant to be.

Modern hanko resting on a desk

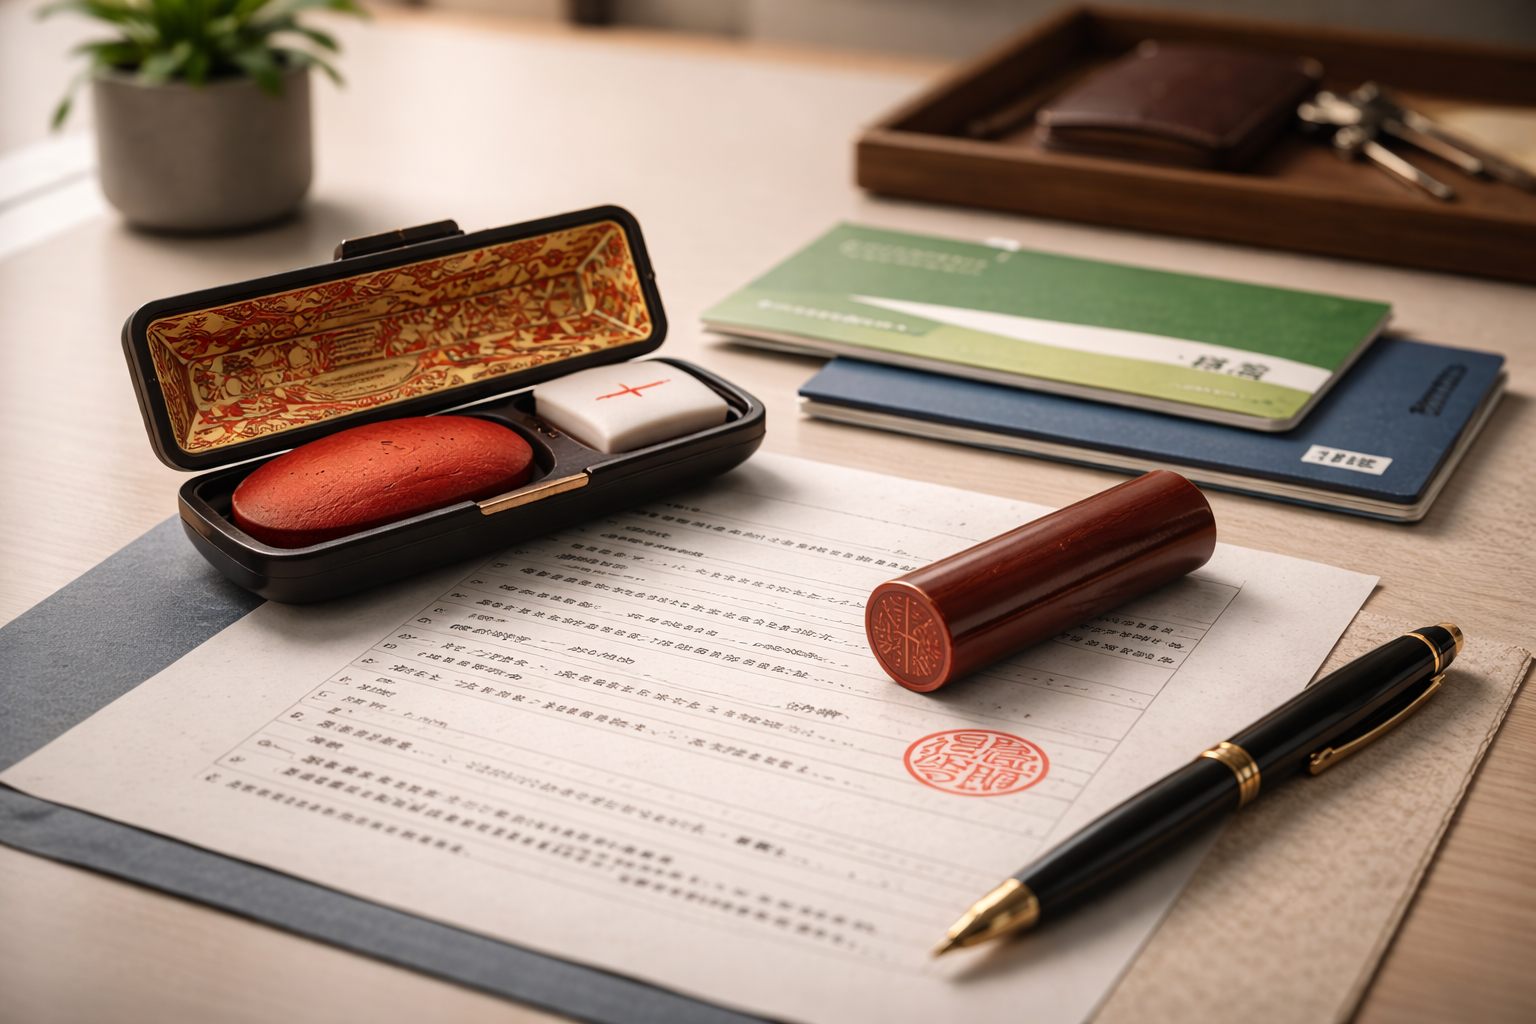
Is it a daily seal, a bank seal, a registered seal, or an artistic seal?

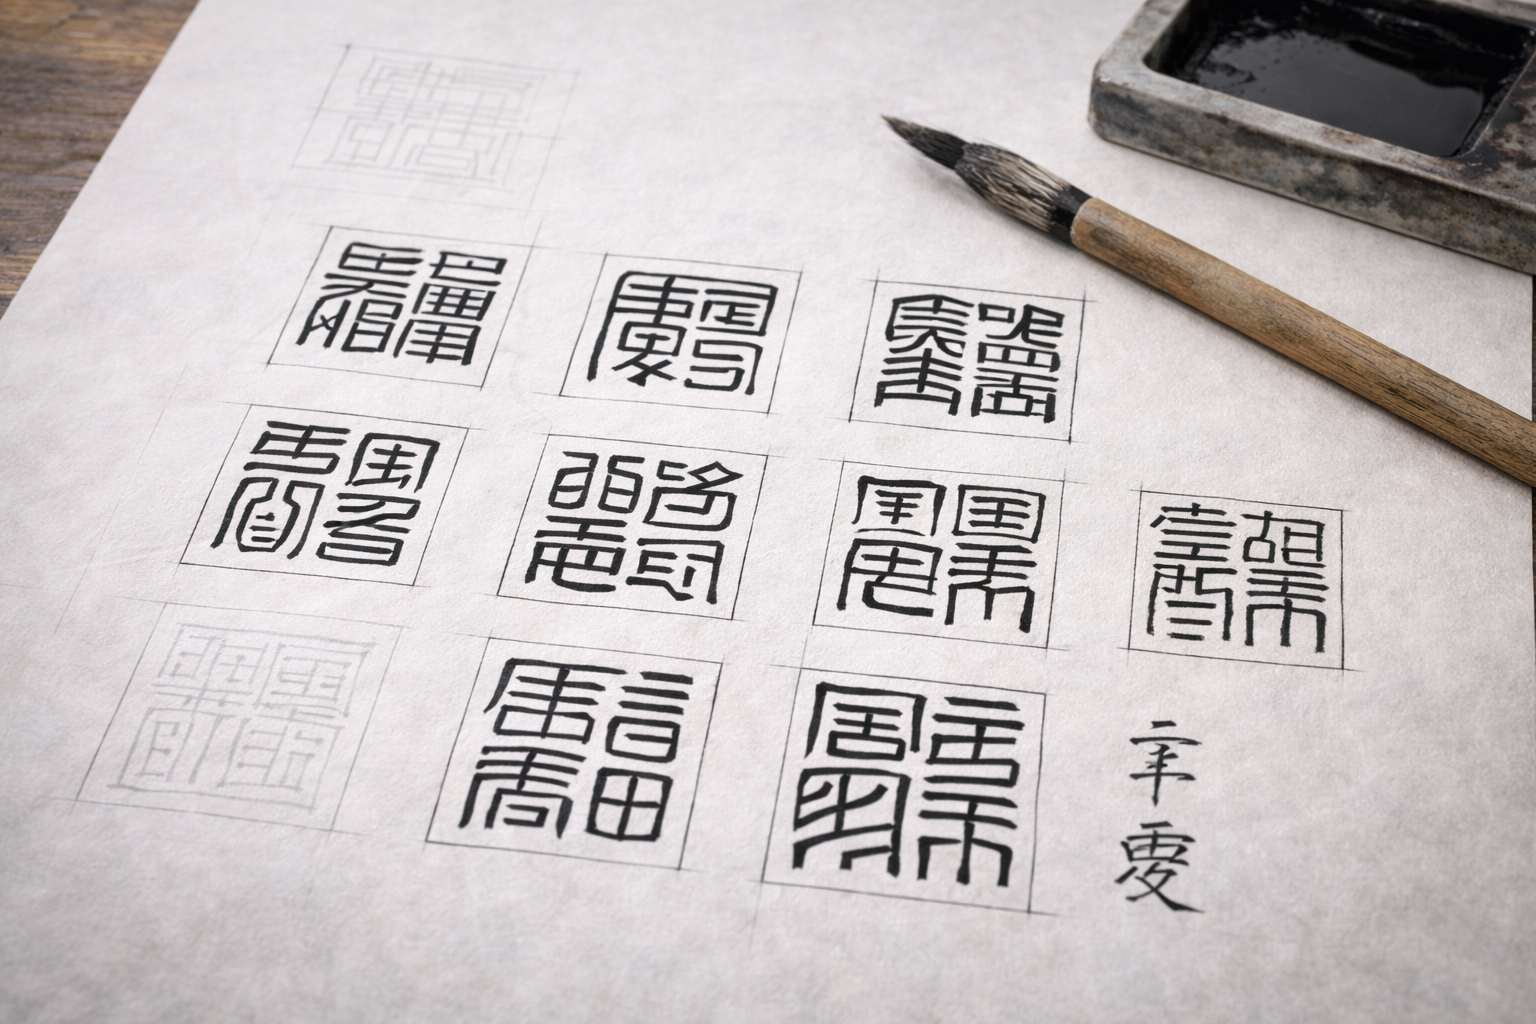
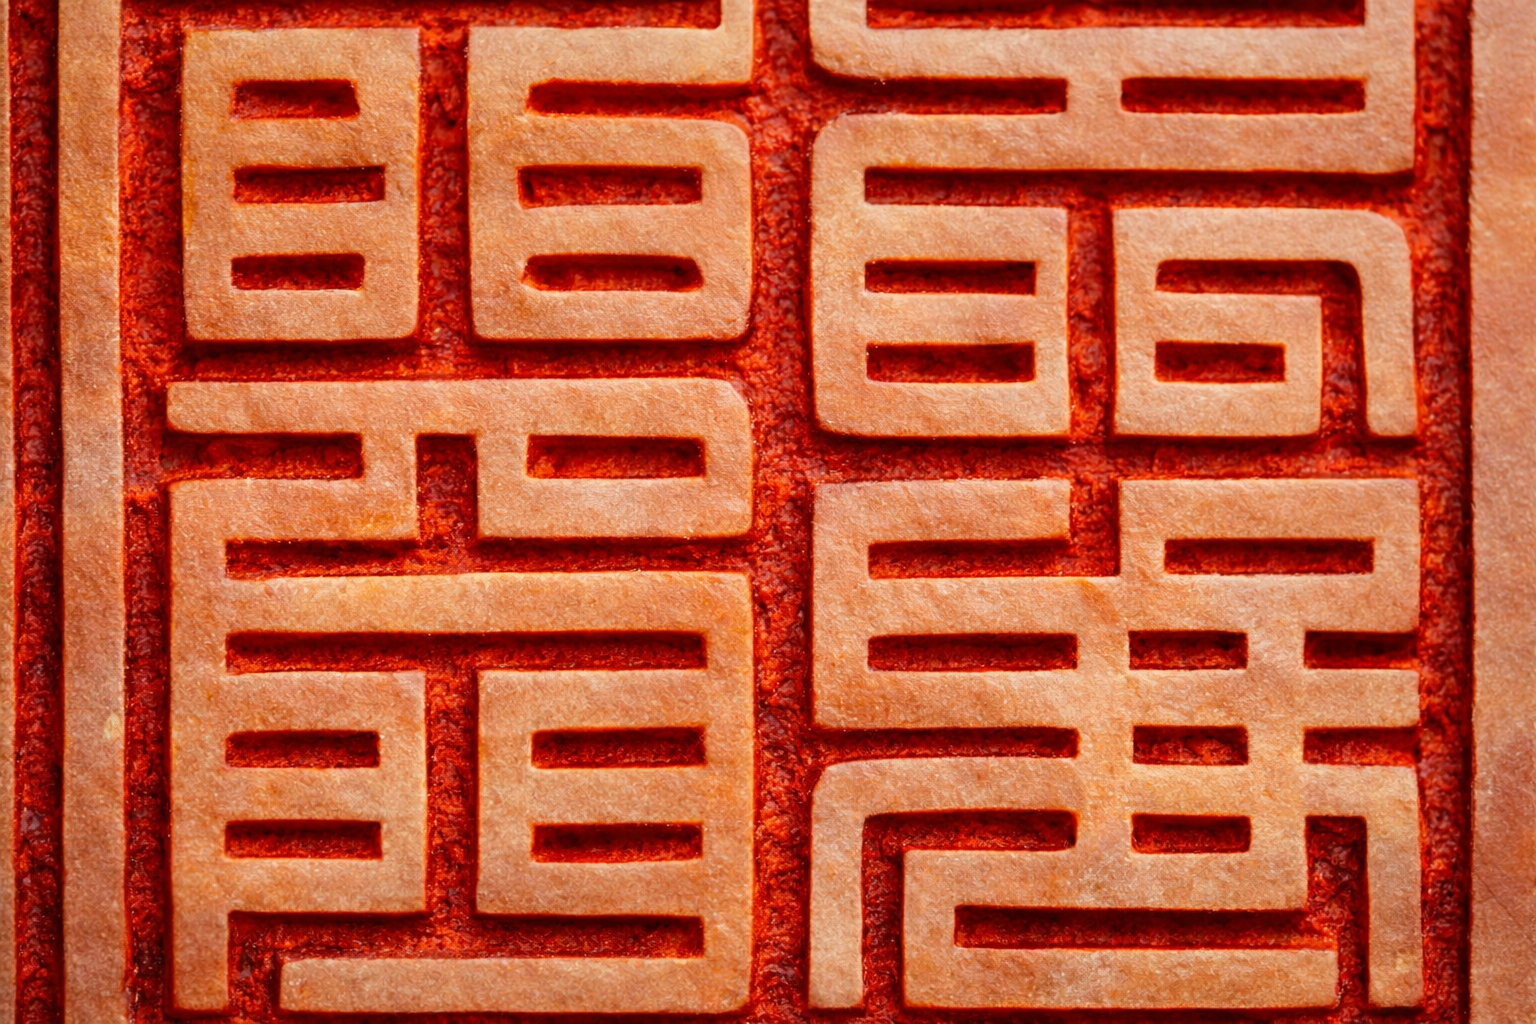
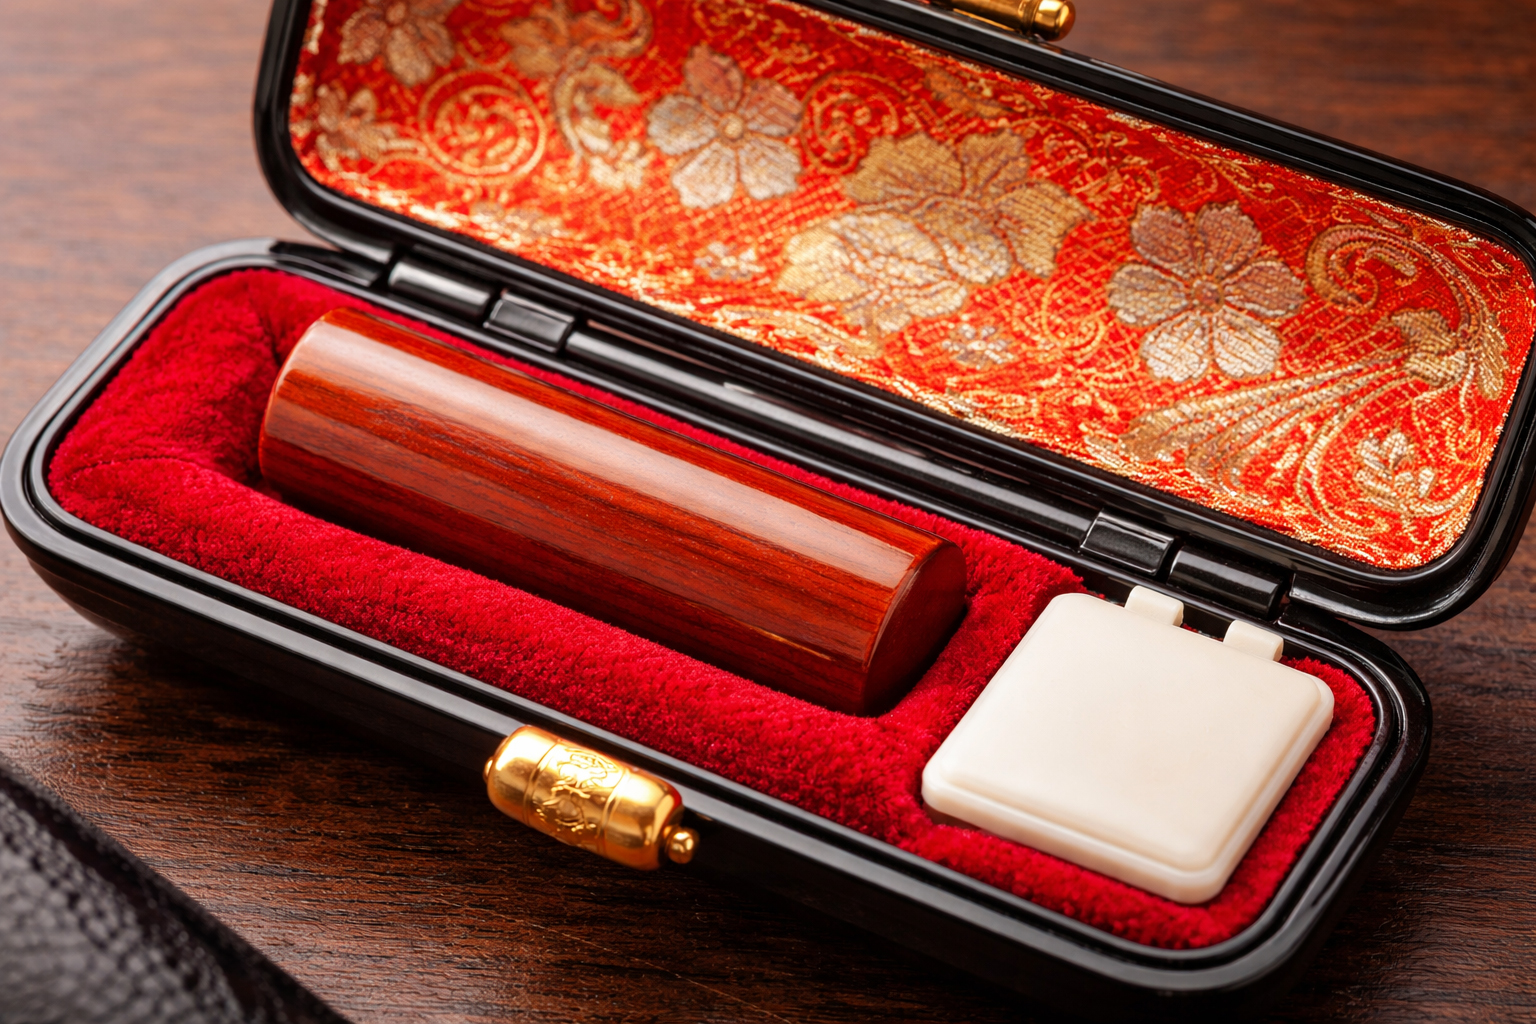
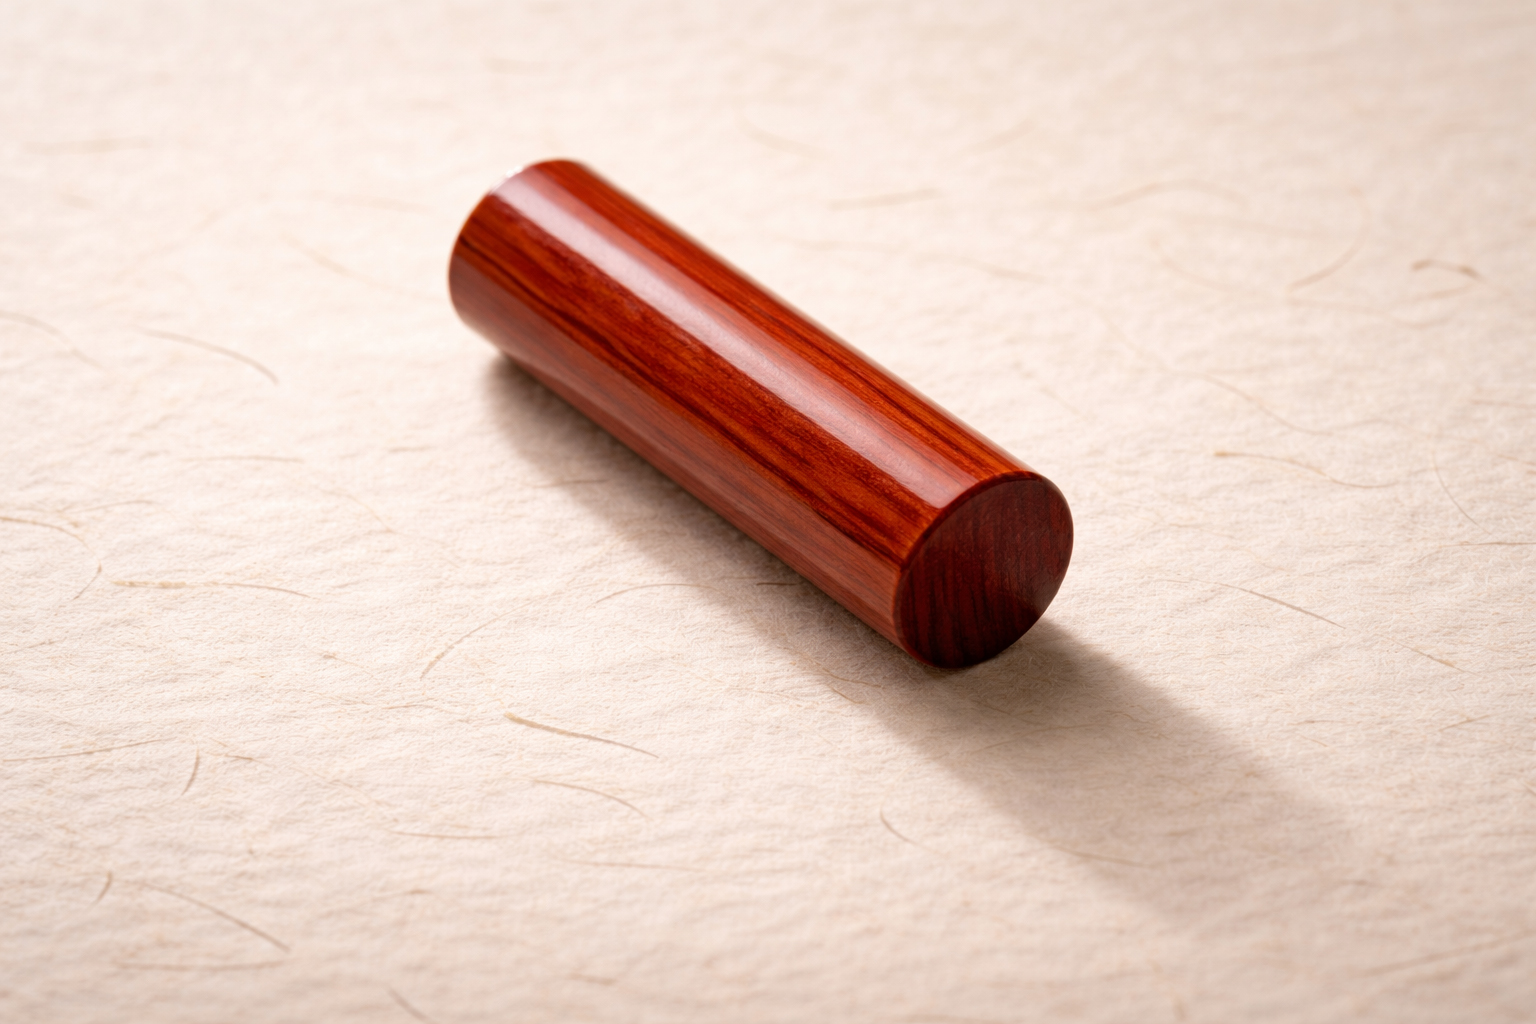
A daily-use seal, a bank seal, a registered seal, and a rakkan do not ask for the same atmosphere. Lettering style, material, weight, and design balance may all change depending on the role of the seal.

That is why the first step is always to clarify what the seal is meant to do.

Formal document and seal

The intended use shapes the seal face

A formal seal may ask for calmness and stability. A daily seal may ask for ease and clarity. The making process therefore begins with character-making as much as with object-making.

Good hanko making begins by deciding clearly what kind of seal the object is meant to become.
— hanko.co.jp making note

Stage two: choose the material

The material affects not only carving, but the overall feeling of the seal itself.

Common questions at this stage

  • Should the seal feel light or weighty?
  • Should it feel friendly or formal?
  • Is it for daily use or serious long-term use?
  • Will it be easy to store well?
  • Does it feel right to keep over time?

Main material families

  • Wood-based materials
  • Horn-like materials
  • Stone-based materials
  • Modern resin-based materials
  • Craft-oriented materials for artistic seals

The seal material is not only the ground that receives the carving. It also influences tactile feel, visual calmness, weight, and the emotional tone of the object.

Choosing the material early therefore shapes much of the seal’s final personality.

By the time the material is chosen, much of the seal’s character has already been decided

Different materials give different moods to the same name.

Stage three: choose the lettering and design the seal face

The heart of hanko making lies in deciding how the name or characters will live inside the seal face.

Seal design planning sheet

Decide what kind of lettering the seal should show

The same name can appear quite differently depending on the script style, seal-script feeling, and degree of formality. Readability, calmness, dignity, and atmosphere all play a role here.

Close-up of seal script in a seal face

Balance blank space and visual weight

Designing the seal face means more than placing characters in order. It involves deciding which character feels heavier, how blank space should remain, and how the whole field will stay balanced in either white-character or red-character form.

The most important part of making a hanko is often not the carving itself, but deciding how the seal face should exist before carving begins.
— hanko.co.jp seal-face design note

Stage four: carve the seal

At this stage the design is turned into an actual seal face on the chosen material.

If carved by hand

  • The maker can adjust by eye
  • Lines may carry slight expression
  • Character differences can be handled flexibly
  • This can be especially attractive in artistic seals

If carved by machine

  • The result may be more even
  • Repeatability is strong
  • Practical seals gain stable order
  • Clear and regular seal faces are easier to produce

This is the stage where the planned design becomes a real seal face. But carving is never only tracing lines. The maker must respond to the chosen material, deciding where to strengthen, where to remove, and where to calm the field.

A good hanko does not come from design alone or carving alone. It comes from the successful meeting of both.

Stage five: refine and finish

Even after carving, the seal face still needs to be settled and checked.

Seal treated carefully in case

Check the fine details of the seal face

Are the lines too weak? Is there any accidental damage? Does any part of the lettering feel cramped? These kinds of refinements are part of finishing the seal face properly.

Seal resting quietly on paper

Consider handling and orientation

A hanko is meant to be used. That means the maker must also consider how it feels in the hand, how naturally its orientation is understood, and whether it will stamp comfortably.

A hanko is not completed the moment carving ends. It becomes complete through refinement, confirmation, and readiness for actual use.
— hanko.co.jp finishing note

Stage six: test stamp and evaluate the impression

A hanko shows its true form only when it is actually stamped.

Close-up of seal impression

Check whether the impression is beautiful

Do the lines collapse? Is the balance of red and blank space convincing? Does the impression breathe well? Test stamping reveals whether the seal truly works.

Hanko making is ultimately judged not only by the carved face, but by the beauty of the final impression.

Texture of vermilion paste

Make final small adjustments if needed

A test impression may reveal that certain lines feel too heavy or too weak. If so, small final refinements can be made before the hanko is considered truly finished.

A hanko is completed in the impression, not only in the carving

Even a beautiful seal face is not fully successful if the stamped image still feels strained.

A finished hanko is a small crafted object

Once the process is understood, a hanko becomes easier to see as more than an office tool.

A finished hanko is small, but within it stand many decisions: material choice, lettering choice, design balance, carving, finishing, and test stamping.

That is why a hanko can be understood not only as a practical tool, but also as a very small work of design and craft. The better the eye becomes, the more clearly the many layers of judgment inside that small object can be seen.

Making a hanko means bringing material, lettering, composition, carving, and impression into one small finished object.
— hanko.co.jp summary note

Conclusion

A hanko is made through a sequence of design, carving, refinement, and impression-making, not by carving a name alone.

A hanko is made by deciding its purpose, selecting the material, designing the lettering and the seal face, carving the form, refining the result, and finally checking the beauty of the stamped impression. Even though the finished object is small, many layers of judgment and technique stand behind it.

That is why the question “How is a hanko made?” cannot be answered simply by saying that a name is carved into material. A hanko is made through the entire process by which letters become form and form becomes a convincing impression.

Related pages

These pages deepen the meaning of each major stage in the making process.